
esfer_mining - Mining system
Mining system in which more than at least 4 caves are already configured and ready to use for the players. This gives an incredible role-playing experience where many people can mine in the caves and get some minerals and sell them to earn some money, making role-playing an incredible and more realistic experience.
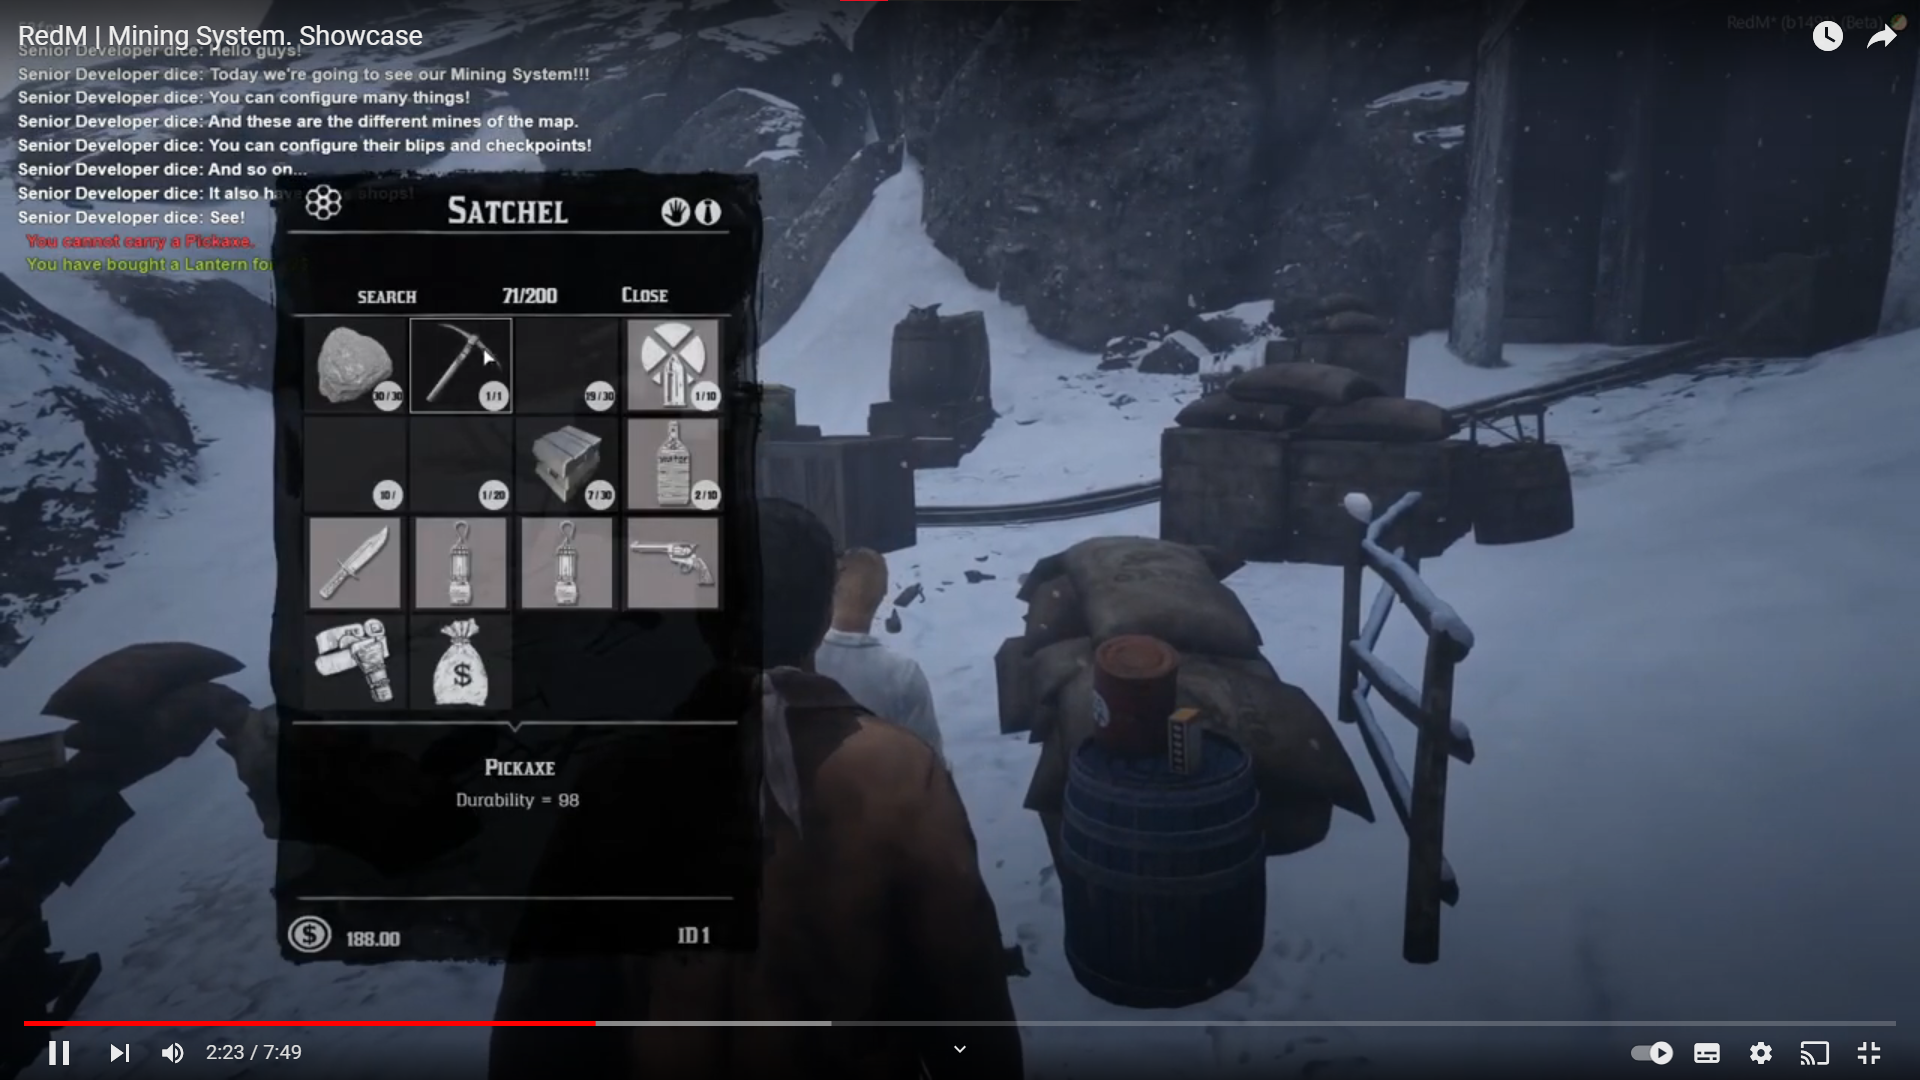
Showcase video
Optional scripts
This resource must be runned with the following scripts:
pNotify (Optional, for notification system).
Configuration
DistanceText The max. distance you need to be at the mining point to show the text in the chat or in the prompt to mine.
MaxDistance The max. distance you need to be from a mine to load the script. This function will let the script sleep if the player is not close enough to a mine.
Keys: (See here some keys usable in RedM)
StartMineRouteKey pressed to start working on the cave.MineKey pressed to mine in a checkpoint.StoreKey pressed to open the store.
GeneralSettings:
MiniGameChoose between minigame or progress bar.Time30 seconds to complete the minigame or the progress bar (depending on the "MiniGame" value).PointsInMinigameHow many points must the player do in the mini-game to exploit the mining zone (every correct click --> Point).NPCChoose if the mining job is started by an NPC or only when approaching the mine.EnableMiniGameProbabilityThe mini-game should appear or not.MiniGameProbabilityThe percentage (%) for the mini-game to appear (0% mini-game won't appear ever - 100% mini-game will always appear).CoolDownThe cooldown set to be abble to start the work again (in minutes).PickaxeObjectThe item spawned on mining.ItemsRequiredForMiningItems required for mining.Marker:Type(See here the types of blips)ColorThe color of the blip.ScaleThe size of the blip.
CheckpointsSpriteBlipSprite of the blip. (See here some of them)AnimationAnimation done by the player when mining.
Mines section
This configurations are inside a specific cave, this means that all these configurations are replicated in all existing caves.
activateBlip Activate the blip of the mine?
Only if blip is activated:
requiredJobRequired job to work in this mine (leave it blank so that the player doesn't need a specific job to work in this mine)nameThe name of the blip.spriteSprite of the blip. (See here the sprites in the game)modifierAny modifier of the blip. Leave it "nil" if you don't want a modifier. (See here the modifiers)(The coords of the blip will be
startPoint.coords)
startPoint The NPC to start the job
coordsWhere the NPC is set.modelThe model of the NPC. (See here different models in the game)
numCheckpoints The number of checkpoints aviable to work on over the different checkpoints that a cave has. Example: if this settings is set to 9 and the checkpoints aviable are 12, then, the players will only be given 9 checkpoints over the 12 to work on.
checkpointsItems How many checkpoints will give item rewards. Ex: from the previous 9 checkpoints, if this setting is set to 7, then 7 of them will give the reward to the player.
checkPoints The coords of the different checkpoints aviable in the cave.
itemsGiven The rewards. Items given if you are in the correct checkpoint (relation with: checkpointsItems).
itemsGivenFailure Items given if the player wans't mining in the correct checkpoint (relation with: checkpointsItems). Leave this empty if you don't want to give items if failed or bad luck.
How to add more caves
To create new caves you will need to do the following:
Take the coordinates at least 10 checkpoints (recommended) inside the cave. Also, get the coords of the start point and get the model of the NPC.
Config.Mines = {
...
itemsGivenFailure = {
['rock'] = { min = 1, max = 2 },
}
},
["Example's Mine"] = {
activateBlip = true,
Stores section
Activated Main configuration to activate the stores or to disable them.
Data section
activateBlip Activate or desactivate the blip of the store.
config:
nameName of the store. This will be also the name of the blip if activated.coordsThe coords of the NPC. This will be also the coords of the blip if activated.modelThe model of the NPC. (See here different models in the game)(Blip options, only if
activateBlip = true)spriteSprite of the blip. (See here the sprites in the game)modifierAny modifier of the blip. Leave it "nil" if you don't want a modifier. (See here the modifiers)
items:
- Structure of an item:
['Database name'] = { label = 'Label of the item', price =Price of the item} - Structure of a weapon:
['Database name'] = { label = 'Label of the weapon', price =Price of the weapon, weapon = true }(See here the different weapons in the game. Asset name = Database name)
How to add more stores
To create new caves you will need to do the following:
Take the coordinates of the NPC. Also, choose a price for every item and the model of the NPC. Then, fill the template.
Config.Interiors = {
...
items = {
['pickaxe'] = { label = 'Pickaxe', price = 12 },
['weapon_melee_davy_lantern'] = { label = 'Lantern', price = 12, weapon = true },
}
},
["Example's Mine"] = {
activateBlip = false,